Adding a feature image to a post
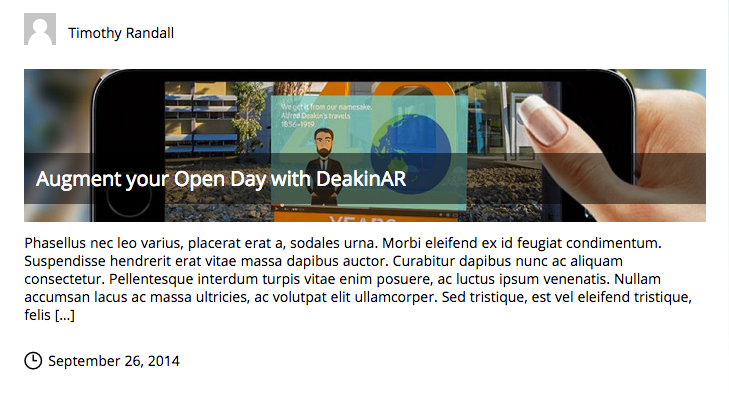
Posts can have a ‘feature image’ attached to them. This will display alongside the post’s title.
A feature image can be added to a post by following these steps:
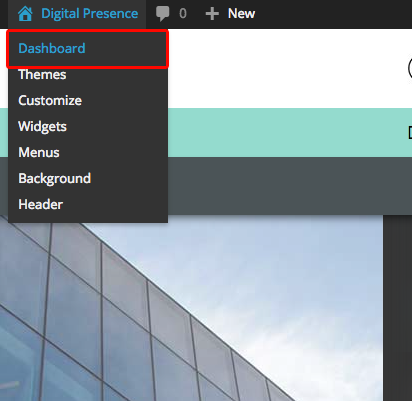
- Log in to WordPress and access the Dashboard

- Create a new post or edit an existing one.
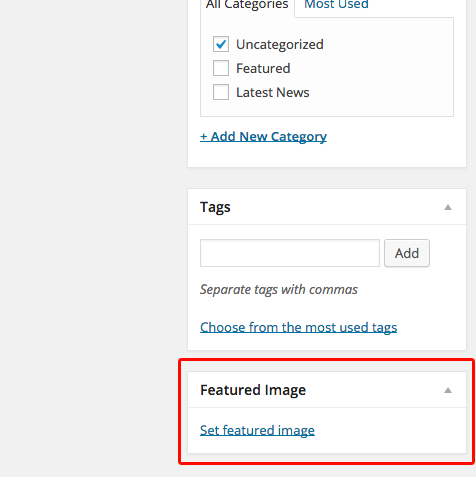
- Choose the ‘Set feature image’ link from the ‘Feature Image’ panel, located within the right sidebar of the edit screen.

- Upload a new image or choose an existing one using the Media Library. The image must be exactly 960 pixels in width and 254 pixels in height (960×254). This is to ensure that it will display properly across all platforms.
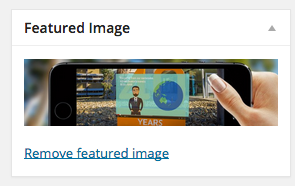
- Once you have chosen your image, the ‘Feature Image’ panel will be updated to show a thumbnail of the chosen image. The image can be removed or modified at any time by selecting the ‘Remove featured image’ link

- Update or publish the post. The post should now display with a feature image.
Notes
- Feature images will not always display on mobile, but will always appear on tablets and desktop machines.
- The image must be exactly 960 pixels in width and 254 pixels in height (960x254px).
Category list: How to use the new blogs.deakin theme
